
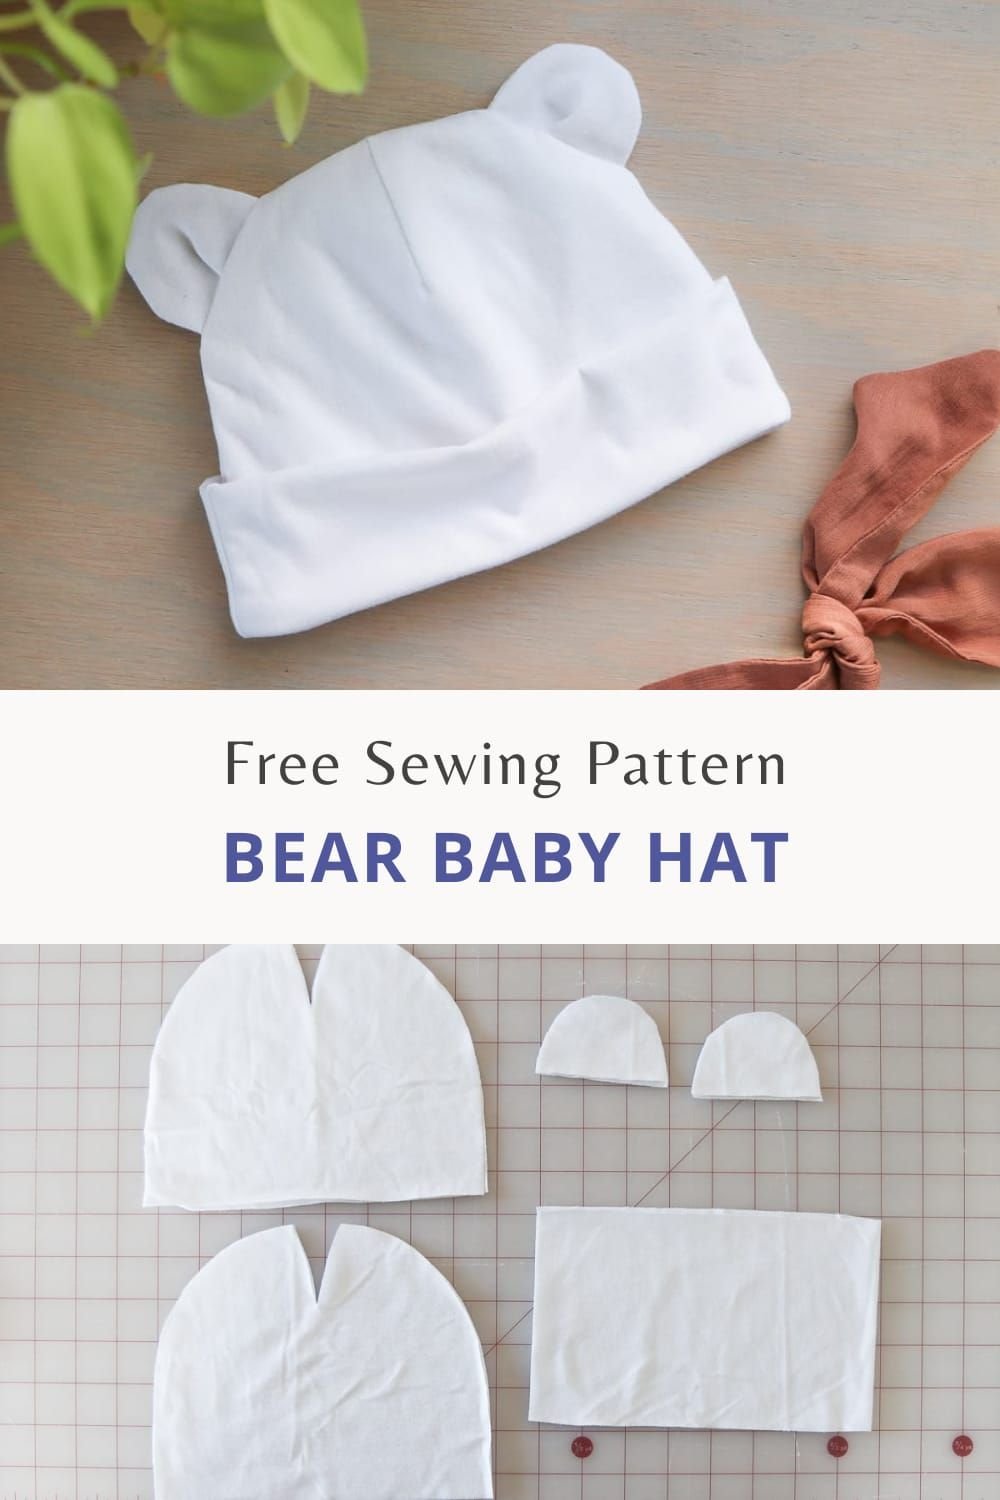
A DIY Baby Bear Hat is one of the most heartwarming and practical crochet or knit projects any parent, grandparent, or craft enthusiast can create. Not only does it keep a little one’s head warm during chilly days, but it also adds a playful and adorable touch to their outfits. The soft bear ears give the hat a whimsical feel that makes it perfect for photo sessions, gifts, or simply everyday wear. Because it’s handmade, every stitch carries love, effort, and creativity, making it more meaningful than anything store-bought.
When creating a DIY Baby Bear Hat, you are not just making an accessory—you are crafting a memory. Parents often save these hats as keepsakes because they represent special moments during their baby’s early years. Imagine pulling out the hat years later and remembering the time, effort, and joy that went into making it. The process itself is also relaxing and rewarding, whether you are an experienced maker or just learning the basics of crochet and knitting.
Beyond its sentimental value, the DIY Baby Bear Hat is also highly practical. Babies need to stay warm, and head coverings play a key role in regulating their body temperature. A cozy hat with playful bear ears provides both function and charm. Plus, it is a customizable project, meaning you can choose colors, yarn textures, and even add embellishments to match your baby’s personality or seasonal themes.
Why a DIY Baby Bear Hat is a Perfect Project
One of the biggest reasons people love making a DIY Baby Bear Hat is the emotional connection tied to handmade baby items. There’s something incredibly special about wrapping your little one in something created with your own hands. Unlike mass-produced items, a handmade baby hat carries warmth not only from the yarn but from the heart of the maker.
Another reason to love this project is its simplicity. While it may look advanced with the little bear ears and shaping, the pattern is often beginner-friendly. Many simple hat bases can be used, and the bear ears are just small additions stitched on at the end. This makes it approachable for those who are still learning but want to make something adorable and practical.
The customization factor is another appealing element. With a DIY Baby Bear Hat, you can select yarn in soft neutrals like beige and brown for a classic bear look, or choose playful colors like pink, blue, or even rainbow yarns to make it unique. You can even add a pom-pom on top or embroider the baby’s initials for a personal touch.
Practicality should not be overlooked. Babies need warmth, especially in their first months, and a snug-fitting hat helps keep them cozy. Many parents appreciate that the hat is both cute and useful, making it a go-to accessory during colder seasons.
Another highlight is that these hats make thoughtful gifts. If you have a baby shower to attend, a DIY Baby Bear Hat is a charming handmade present that will stand out. It’s small, quick to make, and always appreciated by parents. Handmade gifts also leave a lasting impression, showing thoughtfulness and care.
Finally, making these hats is an excellent way to practice or improve your crochet or knitting skills. Because the project is small, it’s not overwhelming, yet it introduces useful techniques that can be applied to bigger projects in the future.
Materials and Tools Needed
Before you begin crafting your DIY Baby Bear Hat, it’s important to gather the right materials and tools. Starting with quality supplies will make the process easier and ensure that the finished product is both durable and comfortable for the baby.
The most essential supply is yarn. For baby hats, soft and hypoallergenic yarns are highly recommended. Acrylic yarn is often chosen because it’s affordable, easy to wash, and gentle on delicate baby skin. Cotton yarn is also an excellent choice for warmer climates, as it is breathable and soft. Avoid rough or scratchy fibers, as babies have sensitive skin.
Next, you will need the right hook or needles depending on whether you are crocheting or knitting. For crochet, a medium-sized hook, such as 4.0mm to 5.0mm, is common for baby hats. For knitting, circular or double-pointed needles in similar sizes work well. Always check the yarn label for recommended sizes.
You will also need scissors to cut your yarn cleanly, and a yarn needle to weave in the ends securely. Stitch markers are optional but can be useful in keeping track of rounds, especially for beginners. Having all these items ready before you begin ensures that your crafting experience is smooth and enjoyable.
Another helpful tool is a tape measure. Since babies grow quickly, you’ll want to measure head circumference to ensure a proper fit. Newborns, infants, and toddlers all have different size ranges, and adjusting the pattern accordingly will make the hat more comfortable.
Lastly, keep in mind that you may want a few embellishments, such as buttons or felt pieces, if you want to add extra decorations. However, be cautious when attaching small parts—always make sure they are securely fastened and safe for a baby.
Step-by-Step Process to Make a DIY Baby Bear Hat
Once your materials are ready, you can begin the exciting process of making a DIY Baby Bear Hat. The steps are straightforward and enjoyable, even for beginners.
The first step is to create the base of the hat. Most patterns start with a magic circle or foundation chain for crochet, or a cast-on for knitting. From there, you build the hat in the round, increasing stitches gradually until you reach the desired circumference. This forms the crown of the hat.
After shaping the crown, you will continue working evenly to form the sides. This is where you establish the height of the hat. For babies, the height doesn’t need to be too tall, just enough to cover the ears and sit snugly without slipping off.
Next comes the bear ears, which are the most charming detail. These are usually made separately as small circles or rounded triangles and then sewn onto the top sides of the hat. Their placement gives the hat its playful bear-like appearance. You can make the ears bigger or smaller depending on the look you want.
Once the ears are attached, finish by weaving in all loose ends using your yarn needle. This step ensures that the hat looks neat and professional. It also prevents any unraveling that could happen with wear and washing.
Finally, check the hat for size and stretch. Babies move a lot, so it’s important that the hat stays secure without being too tight. If needed, you can add a chin strap for extra security, though many parents prefer a simple pull-on hat for comfort.
At this point, your DIY Baby Bear Hat is ready to be enjoyed. Whether you put it on your little one right away or wrap it as a gift, the joy of seeing it completed is always rewarding.
Tips for Success and Personalization
When making a DIY Baby Bear Hat, there are a few tips that can make the process smoother and the outcome even more delightful. These small adjustments and tricks help beginners feel confident and allow experienced makers to refine their craft.
First, always choose the right yarn weight. A medium-weight yarn is often ideal because it creates a hat that is warm but not too bulky. Too thin yarn may not provide enough warmth, while overly thick yarn can make the hat uncomfortable for a baby.
Second, remember that gauge matters. Many crafters overlook checking gauge, but this can affect the size significantly. Taking a few minutes to check your stitches per inch will save you the frustration of making a hat that is too small or too large.
Another tip is to use stitch markers generously. When working in the round, it’s easy to lose track of where each row begins and ends. Stitch markers help you stay consistent and keep your hat symmetrical.
Personalization is another key element of this project. You can make the bear ears a different color than the hat itself for a fun contrast. For example, a cream hat with brown ears creates a striking look. You can also embroider simple details like a little bear nose on the front for extra charm.
For advanced makers, consider adding linings or flaps. A soft fleece lining can add warmth during winter, while ear flaps with ties make the hat more secure. These extra features make the hat even more functional while keeping it adorable.
Finally, don’t be afraid to experiment. The beauty of a DIY Baby Bear Hat is that no two hats need to be the same. Try different stitches, patterns, and textures to create something truly unique. Babies grow fast, so you’ll have plenty of opportunities to make new versions as they reach new milestones.
about DIY Baby Bear Hat
1. What size should I make a DIY Baby Bear Hat?
Sizes vary by age. Newborns usually need a hat circumference of 13–14 inches, while infants range from 15–17 inches. Always measure the baby’s head for the best fit.
2. What is the best yarn for a baby hat?
Soft, hypoallergenic yarns such as acrylic or cotton are ideal. Avoid wool blends if the baby has sensitive skin, as they can cause irritation.
3. Can beginners make a DIY Baby Bear Hat?
Yes, most patterns are beginner-friendly. The hat base is simple, and the ears are small add-ons. With patience, even first-time crafters can achieve great results.
4. How long does it take to make one?
Depending on your skill level, a baby hat can take anywhere from 2 to 5 hours. It’s a quick project compared to larger garments.
5. How do I wash and care for the hat?
Most baby hats made with acrylic or cotton yarns can be machine washed on a gentle cycle. Always follow the yarn label instructions to maintain softness and durability.
6. Are DIY Baby Bear Hats safe for newborns?
Yes, as long as the hat is made with soft yarn and no small, detachable parts are added. Avoid loose embellishments like buttons that could pose a choking hazard.
7. Can I sell handmade baby bear hats?
Absolutely. Many small businesses sell handmade baby hats online or at craft fairs. Just be sure to use safe materials and create quality finishes.
A DIY Baby Bear Hat is much more than just a piece of clothing—it is a keepsake, a warm accessory, and a symbol of care. From choosing soft yarns to adding the adorable bear ears, the process is enjoyable and rewarding. Whether you’re making it for your baby, as a thoughtful gift, or as part of your crafting journey, this project combines practicality with creativity in the best way.
Now that you’ve learned the steps, tips, and benefits of creating a DIY Baby Bear Hat, I’d love to hear from you. What did you think of this guide? Do you have your own tips or experiences with making baby hats? Share your honest opinion and suggestions so we can keep improving and inspiring each other.