
Creating a Simple Fun Flying Geese Quilted Pillow DIY project is one of the most delightful ways to combine creativity, comfort, and the timeless art of quilting. This sewing project is perfect for beginners and experienced quilters alike, offering a joyful and relaxing way to produce a beautiful home décor piece. The Flying Geese pattern, known for its charming triangles that resemble migrating geese, has long been a favorite in the quilting community. With this guide, you’ll learn how to design and sew your very own quilted pillow, adding a personal handmade touch to any space.
The beauty of a Flying Geese quilted pillow lies in its simplicity. The geometric design allows you to play with color combinations, fabric textures, and patterns that match your interior style. Whether you want something modern and minimalistic or bright and bold, this DIY project lets you express your creativity while crafting something both decorative and functional. Plus, making your own quilted pillow is an eco-friendly alternative to store-bought cushions, allowing you to repurpose fabric scraps and contribute to sustainable crafting.
In this guide, we’ll explore the entire process—from choosing fabrics and cutting pieces to sewing, assembling, and finishing your Simple Fun Flying Geese Quilted Pillow DIY. You’ll also find helpful tips, common mistakes to avoid, and answers to the most frequently asked questions about quilting pillows. By the end of this tutorial, you’ll feel confident enough to create your own masterpiece and maybe even inspire others to start quilting too!
Choosing Fabrics and Preparing Your Materials
The first step in your Simple Fun Flying Geese Quilted Pillow DIY journey is selecting the right materials. Choosing fabrics is where your creativity truly shines. Look for cotton fabrics in contrasting colors to make your Flying Geese design stand out. You can use solid tones for a clean, modern look or patterned fabrics for a more traditional touch.
Always wash and iron your fabric before cutting. Pre-washing ensures that the colors won’t bleed later, and ironing removes any wrinkles that might affect the accuracy of your cuts. Proper preparation might seem like a small step, but it makes a big difference in the final result of your quilted pillow.
For this DIY project, you’ll need fabric for the geese triangles, background fabric, a pillow insert, batting, and backing material. Don’t forget a rotary cutter, a cutting mat, and a clear quilting ruler to achieve precise measurements. Accuracy is key in quilting—the cleaner your cuts, the smoother your assembly will be.
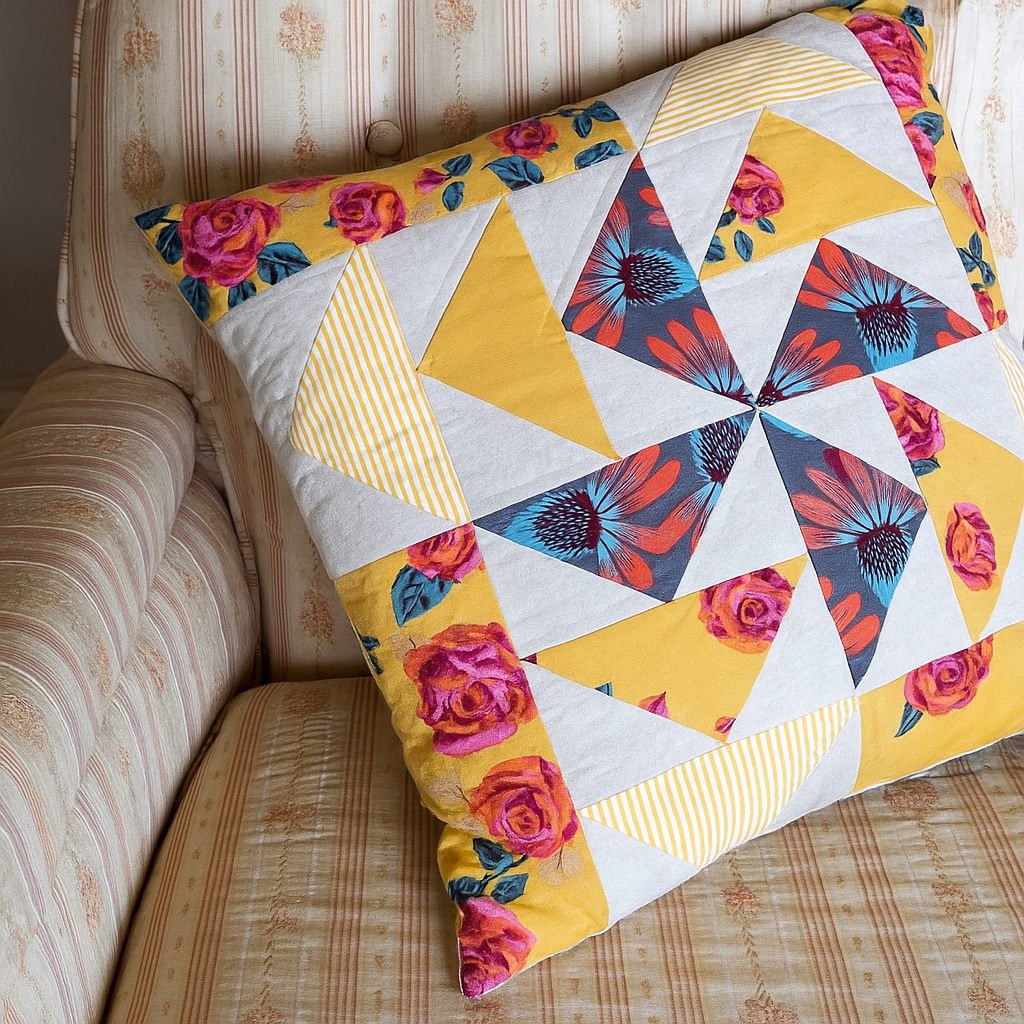
When choosing colors, think about the overall vibe of the room where your quilted pillow will be placed. Neutral colors like beige, white, and gray create a soft, elegant look, while bright hues such as red, turquoise, or mustard can add a fun pop of energy. The Flying Geese design allows endless possibilities for customization.
It’s also helpful to plan your layout before sewing. Arrange your triangles on a flat surface to see how the colors interact. This step helps you visualize the final product and make adjustments if needed before stitching everything together.
Once your materials are ready, you’re set to start cutting your fabric pieces. This is where your Simple Fun Flying Geese Quilted Pillow DIY begins to take shape. Take your time and enjoy the process—it’s both relaxing and rewarding.
Cutting and Piecing the Flying Geese Blocks
The hallmark of the Flying Geese pattern is its triangular units. To create these, you’ll combine one large triangle (the “goose”) with two smaller triangles (the “sky”). Each unit forms a beautiful geometric shape that can be repeated to form rows or other creative designs for your quilted pillow.
Start by cutting your main fabric into the desired size. A common size for small Flying Geese units is 2″ x 4″ finished, but you can adjust based on the size of your pillow. Remember to add seam allowances—usually ¼ inch on all sides. Accuracy in measuring and cutting ensures that your DIY pillow will look professional and well-fitted.
Once the pieces are cut, align the smaller triangle to one side of the large triangle and sew along the diagonal edge. Trim the excess and press the seam flat. Repeat this process on the other side to complete one Flying Geese block. It’s important to press your seams carefully so your blocks lie flat and your design remains neat.
After completing several Flying Geese units, arrange them in your preferred pattern. You can line them up in rows or create a circular or star layout for a unique effect. Play with positioning until you find the design that best suits your aesthetic.
Once your layout is finalized, sew the units together row by row, making sure the points align correctly. This attention to detail is what gives your Simple Fun Flying Geese Quilted Pillow DIY a polished, symmetrical appearance. Don’t rush this part—it’s worth the extra care to achieve clean lines.
When your quilt top is complete, give it a final press. You’re now ready to move on to assembling your pillow layers. Seeing your patchwork come together is one of the most satisfying parts of this DIY project.
Assembling the Quilted Pillow
Now that your Flying Geese quilt top is ready, it’s time to assemble the pillow. Layer your pieces in the following order: backing fabric (right side down), batting, and quilt top (right side up). This sandwich structure gives your quilted pillow softness and durability.
Use safety pins or quilting clips to secure the layers in place. You can then quilt through all layers using straight lines, diagonal lines, or even free-motion quilting, depending on your skill level. For beginners, simple straight-line quilting works beautifully and complements the Flying Geese pattern.
Once quilting is complete, trim any excess batting and backing fabric to match the size of your quilted top. Clean edges are essential before moving to the next step. If desired, you can add decorative stitching around the edges for an extra touch of detail.
Next, prepare the pillow back. Cut two fabric rectangles that overlap to form an envelope-style closure. This design allows easy removal of the pillow insert for washing or replacing. Sew the back pieces together along the sides, aligning them with the front quilted panel.
With right sides facing, sew around the edges of the pillow, leaving a small seam allowance. Turn the cover right-side out, press it, and insert your pillow form. At this stage, your Simple Fun Flying Geese Quilted Pillow DIY is nearly complete.
The final step is to admire your work! You’ve successfully created a cozy, handmade accent piece that reflects your personal style. Each stitch represents time, care, and creativity—qualities that make quilting so special.
Decorating, Caring, and Personalizing Your Pillow
One of the joys of a Simple Fun Flying Geese Quilted Pillow DIY project is that you can personalize it endlessly. Add decorative touches like buttons, embroidery, or fabric paint to make your pillow truly one-of-a-kind. The Flying Geese design provides a perfect canvas for embellishments without overwhelming the overall look.
Consider mixing textures by using linen, velvet, or denim alongside cotton fabrics. The contrast of materials adds dimension and visual interest. You can also experiment with stitching in different thread colors to accentuate the geometric design of your quilted pillow.
To keep your pillow looking fresh, care for it properly. Remove the insert before washing, and wash the cover gently in cold water. Air-dry or tumble dry on low to preserve the fabric and stitching. Regular maintenance helps your DIY creation last for years.
If you’re making multiple pillows, vary your Flying Geese patterns—some can point in one direction, while others can form a mirrored or diamond shape. Mixing designs adds movement and liveliness to your décor.
This type of DIY quilting project also makes an excellent handmade gift. Whether for birthdays, holidays, or housewarmings, a custom quilted pillow carries sentimental value and showcases your effort and artistry.
Most importantly, have fun throughout the process. The “fun” in Simple Fun Flying Geese Quilted Pillow DIY isn’t just in the title—it’s in the joy of creating something meaningful and beautiful with your own hands.
Simple Fun Flying Geese Quilted Pillow DIY
1. What is the Flying Geese pattern in quilting?
The Flying Geese pattern features a large central triangle flanked by two smaller triangles, symbolizing geese flying in formation. It’s one of the most classic and versatile quilt block designs.
2. Do I need a sewing machine for this project?
While you can sew by hand, using a sewing machine makes the process faster and ensures precise, sturdy seams—especially when quilting multiple layers.
3. What type of fabric works best for a quilted pillow?
Cotton fabric is ideal due to its softness, durability, and ease of handling. You can mix it with other materials for texture, but avoid stretchy fabrics that may distort.
4. How do I prevent my triangles from losing their shape?
Accurate cutting and careful pressing are key. Always use a rotary cutter, ruler, and mat, and press seams instead of ironing to avoid stretching the fabric.
5. Can I make this project without batting?
Yes, but batting gives your quilted pillow a plush feel and helps highlight the stitching. Skipping it will result in a flatter cushion.
6. What size should my pillow be?
Standard pillow sizes range from 16″ x 16″ to 20″ x 20″. You can adjust based on your preference or available insert size.
7. How can I make my Flying Geese points align perfectly?
Sew with consistent seam allowances and use pins to hold pieces in place. Take your time aligning the triangle tips before stitching.
8. Can I sell pillows made with this design?
Absolutely! Handmade quilted pillows are popular at craft fairs and online marketplaces. Just ensure your work is neat and your materials are high quality.
The Simple Fun Flying Geese Quilted Pillow DIY project is a perfect blend of artistry, craftsmanship, and practicality. By following these steps, you can transform simple fabric pieces into a stylish and meaningful home accent. This project not only enhances your sewing skills but also allows you to express creativity through colors, textures, and patterns.
Whether you’re a beginner or an experienced quilter, making your own quilted pillow is a deeply rewarding experience. It encourages patience, precision, and imagination—all essential elements of handmade art.
Now it’s your turn! What did you think of this tutorial? Share your honest opinion and any suggestions for improvement. Have you tried making your own Flying Geese quilted pillow before? I’d love to hear your experiences and see what creative designs you come up with!