
Creating a Crochet Bunny Shaped Remote Control Holder is a charming and functional project that combines creativity, practicality, and a touch of cuteness. Whether you’re a beginner or an experienced crocheter, this adorable bunny-shaped organizer can be the perfect addition to your home decor while keeping your remotes neatly stored. The beauty of this project lies in how it merges crochet artistry with everyday utility, making it an ideal piece to craft for yourself or to gift to loved ones.
The idea of making a crochet bunny remote control holder isn’t just about making something cute; it’s about crafting a decorative yet useful item that brings warmth to your living room. Instead of leaving remotes scattered on tables or lost in sofa cushions, this handmade holder offers a delightful and organized solution. By using soft yarn and creative stitching, you can give your bunny personality and charm, turning an ordinary storage piece into an eye-catching accent.
Moreover, creating a Crochet Bunny Shaped Remote Control Holder is a mindful and relaxing experience. The rhythmic motion of crocheting helps reduce stress and allows you to express yourself through color, texture, and design. You can customize the bunny’s features, such as its ears, face, or even add a small tail, making it uniquely yours. Beyond its function, it symbolizes comfort and care — both for your home and your crafting spirit.
The Charm of a Crochet Bunny Shaped Remote Control Holder
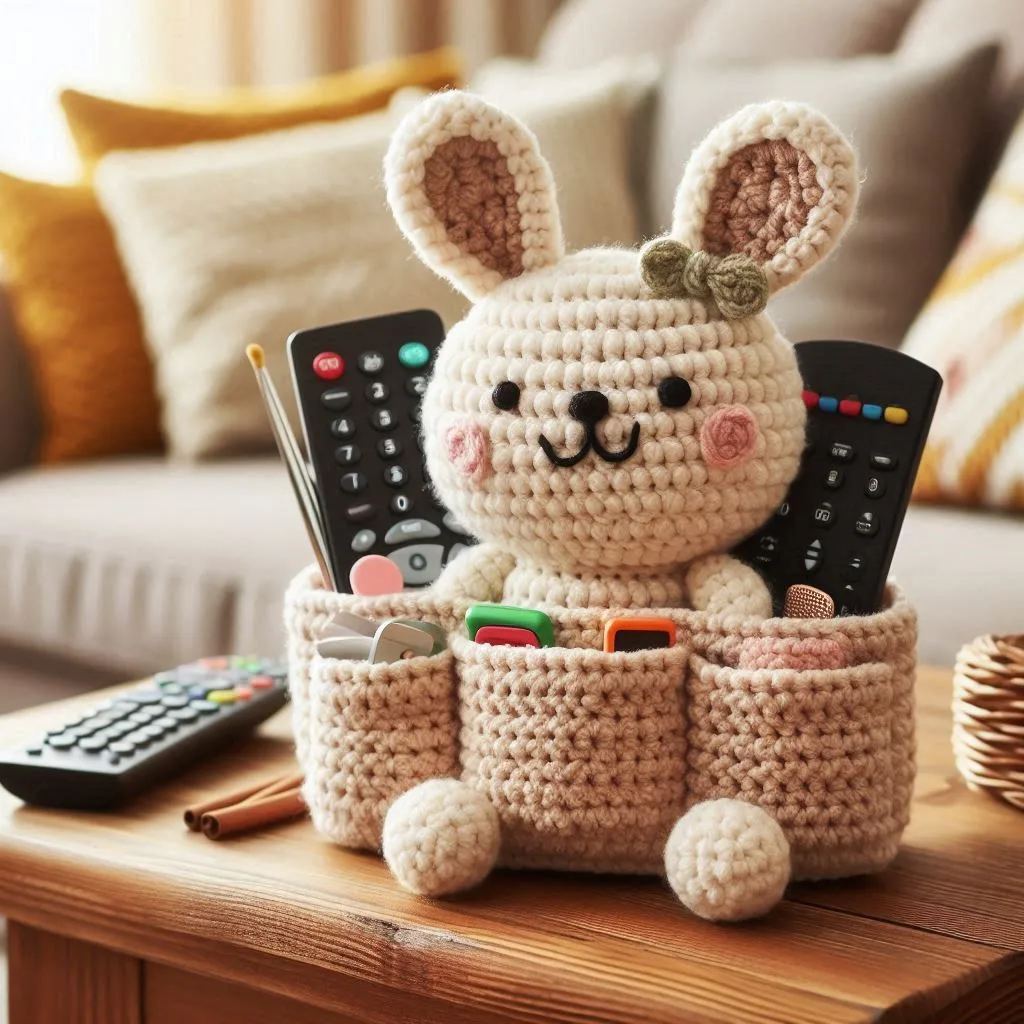
The main attraction of the Crochet Bunny Shaped Remote Control Holder is its ability to blend functionality with cuteness. Unlike standard remote control organizers, this one doubles as a cozy decorative piece. Imagine a fluffy bunny sitting on your couch or side table, quietly guarding your remotes while brightening up your living space. It’s not only practical but also adds a touch of handmade warmth that no store-bought product can match.
One of the best aspects of crocheting this bunny holder is the creative freedom it offers. You can experiment with different yarn colors, textures, and stitches to bring your vision to life. Soft pastel shades like pink, white, or beige often give the bunny a gentle and inviting appearance, but you can also go bold with bright or patterned yarns. This makes every creation unique and reflective of your personal style.
The bunny-shaped design is also a great project for those who enjoy making themed or seasonal crafts. For instance, during Easter, it can serve as both decor and a fun conversation piece. You can even add embellishments like little flowers, bows, or embroidered facial details to enhance its character.
Functionality is another reason to fall in love with this crochet project. The bunny’s body serves as a pouch or pocket to hold your remotes securely. You can adjust the size depending on how many remotes or gadgets you want to store. Some crafters even adapt the pattern to hold mobile phones, glasses, or stationery, making it even more versatile.
Additionally, this handmade piece can serve as a heartfelt gift idea. Whether for Mother’s Day, birthdays, or housewarming parties, a Crochet Bunny Shaped Remote Control Holder shows thoughtfulness and creativity. Handmade gifts always carry emotional value, and when they’re as functional as this one, they’re sure to be appreciated.
Lastly, making your own bunny-shaped holder promotes sustainability. Instead of buying plastic or mass-produced organizers, you’re crafting something eco-friendly using leftover yarns or natural fibers. This approach aligns perfectly with the modern trend of sustainable crafting, encouraging you to create while caring for the planet.
Materials and Tools Needed
Before you start crocheting your Crochet Bunny Shaped Remote Control Holder, it’s essential to gather the right materials. The good news is that this project requires only basic supplies, making it budget-friendly and beginner-friendly.
First and foremost, you’ll need yarn. Choose a soft and durable yarn that’s easy to work with. Cotton or acrylic yarns are excellent choices because they maintain shape and are easy to clean. You can also mix textures to create a more realistic or playful bunny look.
Next, you’ll need a crochet hook suitable for your yarn’s thickness. Most patterns for this type of project recommend hooks between 3.5 mm to 5 mm, but always check the yarn label for guidance. The right hook size ensures your stitches are consistent and your holder maintains a solid structure.
Don’t forget stuffing material for the bunny’s body or ears if you plan to give them a plush look. You can use polyester fiberfill, yarn scraps, or eco-friendly alternatives like cotton stuffing.
You’ll also need scissors, a tapestry needle, and stitch markers. These simple tools make your crocheting smoother and more organized, especially when shaping parts like the bunny’s ears or pocket section.
Optional materials include buttons, felt pieces, or embroidery thread for facial features like eyes, nose, and whiskers. These little touches can transform your project from simple to stunning.
Finally, prepare a pattern or sketch to follow. You can design your own layout or find inspiration from standard amigurumi bunny patterns, adjusting them to include a storage pocket. Having a visual guide will help you stay consistent with your stitch counts and design proportions.
How to Crochet a Bunny Shaped Remote Control Holder
Now that you have your materials ready, let’s explore how to crochet your bunny-shaped holder step by step. This project usually begins with creating the base or pouch where the remotes will be stored.
Start by crocheting a rectangular base using single or half-double crochet stitches. The size depends on how many remotes you plan to keep. For a simple version, make a rectangle about 20–25 cm wide and 10–12 cm tall. Once finished, this will form the bunny’s main body pocket.
Next, create the bunny’s head and ears. For the head, crochet a small oval or circle shape using increases and decreases to form a rounded front. For the ears, crochet two long ovals and sew them to the top of the head. You can make them floppy or upright depending on your preference.
After the main pieces are ready, attach the head and ears securely to the pouch. Then, use a tapestry needle to sew or crochet the bottom and sides of the pocket, leaving the top open for inserting remotes.
Add facial details like eyes, a cute nose, and maybe embroidered whiskers. If you prefer, you can use safety eyes or felt circles to make the bunny more expressive.
Once assembled, test the pocket by placing your remote controls inside. Make sure it’s snug but not too tight. Adjust stitches if needed for better fit and durability.
Finally, weave in all loose ends, add a small tail at the back if desired, and your adorable Crochet Bunny Shaped Remote Control Holder is ready for use!
Decorating and Customizing Your Bunny Holder
One of the most enjoyable parts of making a Crochet Bunny Shaped Remote Control Holder is customizing it. This is where you can let your imagination run wild and infuse your personal touch into every detail.
Consider adding decorative accents like bows, ribbons, or mini flowers to give your bunny a more charming look. A small crocheted bow on one ear can make it even more playful.
You can also use contrasting yarn colors to create unique effects. For instance, a white bunny with pink inner ears or a gray bunny with pastel accents adds character and variety.
Personalizing facial features is another fun step. You can make a sleepy bunny with closed eyes, a happy bunny with a wide smile, or even add blush details using pink yarn or embroidery thread.
For those who love practicality, add extra pockets or compartments to hold pens, chargers, or other small items. This way, your bunny holder becomes a multifunctional organizer suitable for various uses around the home.
You can also adjust the size to fit your decor. A small bunny fits nicely on a coffee table, while a larger one can sit on the couch armrest or even hang on a wall.
Lastly, experiment with different textures and stitch patterns. Mixing basic stitches with textured ones like bobble or puff stitches can make your bunny more interesting and tactile.
About Crochet Bunny Shaped Remote Control Holder
1. Is this project suitable for beginners?
Yes, the Crochet Bunny Shaped Remote Control Holder is perfect for beginners since it uses basic stitches like single crochet and slip stitch. With patience and practice, anyone can complete it successfully.
2. How long does it take to make one?
Depending on your skill level, it can take anywhere from 3 to 6 hours to finish a bunny holder. More detailed designs with accessories may take longer.
3. Can I wash the holder?
Yes, most yarns used for this project are washable. Always check the yarn label for care instructions. Hand washing in cold water is generally safest.
4. What is the best yarn type to use?
Cotton and acrylic yarns are the most recommended. Cotton gives structure and durability, while acrylic provides softness and flexibility.
5. Can I modify the design to hold other items?
Absolutely! You can resize or reshape the pouch to hold phones, glasses, or craft tools. The concept is very adaptable.
6. Do I need a pattern to follow?
While you can design your own, having a simple crochet bunny pattern as a reference helps ensure consistent sizing and proportions.
The Crochet Bunny Shaped Remote Control Holder is more than just a cute craft—it’s a delightful blend of creativity, functionality, and personalization. This project teaches you how to combine artistic skill with everyday usefulness, transforming simple yarn into something meaningful and practical. Whether you’re crafting it for your home or as a heartfelt handmade gift, it’s sure to bring joy and charm wherever it’s placed.
Now that you know how to create your own bunny-shaped remote holder, what do you think? Have you tried a similar project before, or do you have unique ideas to make it even better? Share your honest opinions and suggestions — your feedback inspires more creative crochet adventures!